
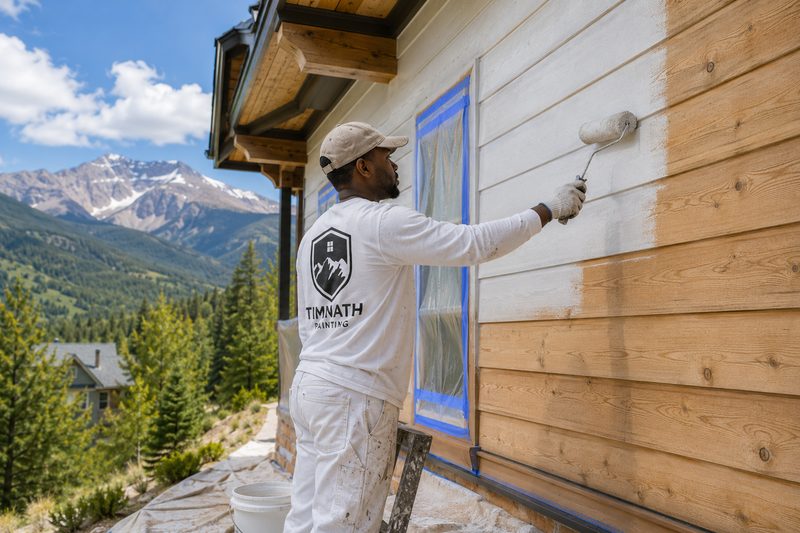
What Happens Before the First Brush Stroke
Most homeowners focus on color swatches. Professional painters focus on what happens before paint ever touches the surface. In a climate like Fort Collins — where homes endure 28+ freeze-thaw cycles per year and UV exposure 10–15% higher than sea level — prep work isn't a formality. It's the whole foundation.
Skip it, and you're not just wasting money on a paint job. You're accelerating the failure of your siding, trim, and wood substrates.
Here's exactly what thorough exterior painting prep looks like, and why each step matters.
Step 1: Power Washing
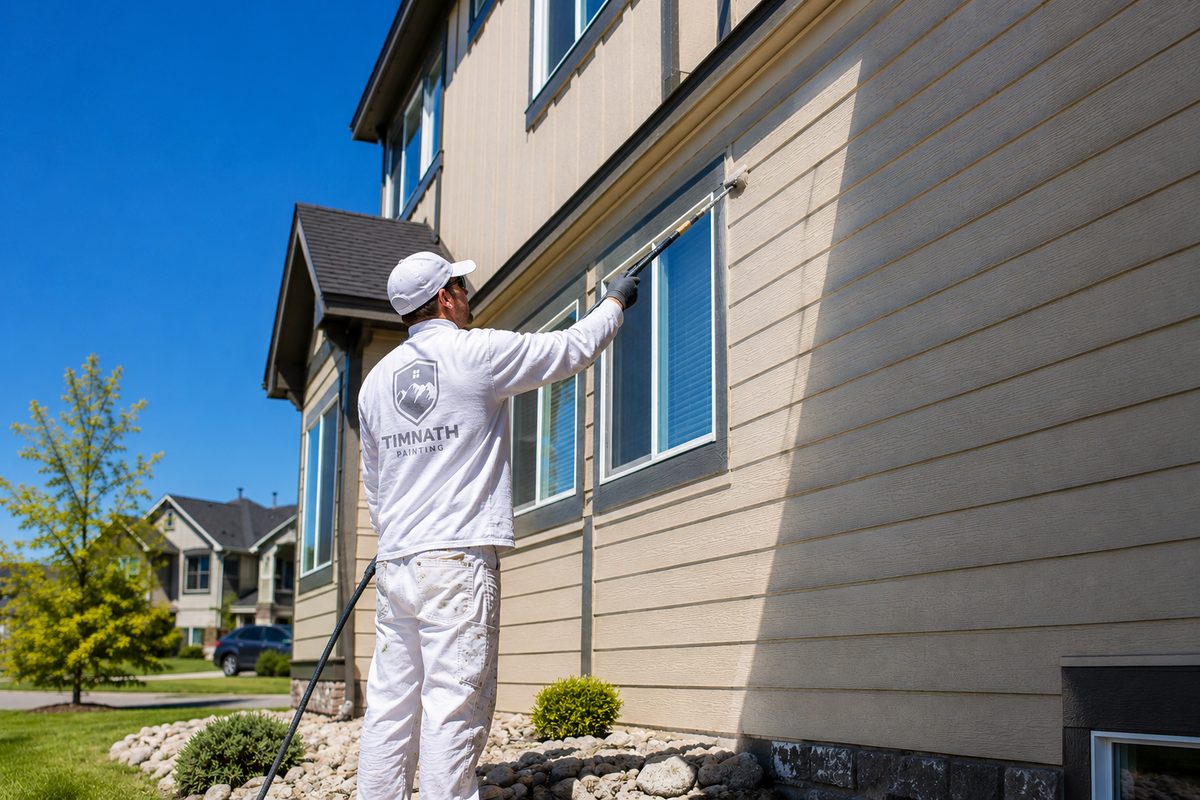
Every proper prep sequence starts with a thorough power wash. Dirt, mildew, chalking paint, and oxidation all act as barriers between your surface and the new coating. Paint applied over contamination will peel — it's not a matter of if, it's when.
For Northern Colorado homes, mildew buildup is a real concern, especially on north-facing and shaded surfaces. A cleaning solution with a mildewcide is often added to the wash for these areas.
What gets skipped by the cheap guys: A quick rinse instead of a proper pressure wash with dwell time and appropriate PSI for the surface. Wood siding requires less pressure than masonry — too much and you're driving moisture in and raising grain.
After washing, the surface needs to dry completely — typically 24–48 hours before any other work continues.
Step 2: Scraping and Sanding
Any paint that's already failing — bubbling, flaking, or peeling — has to come off. Painting over failing paint means you're bonding to a layer that's already given up. The new paint will follow the old one right off the surface.
Hand scraping removes the worst of it. Sanding feathers the edges of remaining paint so there's no visible lip where old paint ends and bare substrate begins. That edge — if left unsanded — telegraphs right through the final coat.
This step is labor-intensive and unglamorous. It's also the single biggest difference between a 2-year paint job and a 7-year one.
Step 3: Caulking
Gaps around windows, doors, trim boards, and where dissimilar materials meet are entry points for moisture. In Colorado's climate, water that gets behind siding in fall will freeze and expand in winter, forcing the siding away from the substrate. That movement cracks paint, lifts caulk, and eventually rots wood.
Old, cracked caulk gets removed and replaced — not painted over. Paintable polyurethane or siliconized acrylic caulks are standard for exterior work. The goal is a continuous seal at every joint before primer goes on.
What gets skipped: Running a quick bead of caulk over existing failed caulk instead of cutting it out. New caulk bonded to failed caulk doesn't solve anything — it just delays the same failure by a season.
Step 4: Priming
Bare wood absorbs paint unevenly and raises grain as it soaks in moisture from the coating. Bare spots — anywhere scraping or sanding hit raw substrate — need primer before topcoat.
Primer does three things:
- Seals the substrate so topcoat lays evenly
- Improves adhesion of the finish coat
- Provides a chemical bond between surface and paint
In Fort Collins and surrounding Northern Colorado communities, we use primers specifically formulated for high UV environments. The finish coat's durability is directly tied to how well it's anchored — and primer is that anchor.
For exterior painting work on homes throughout the region, this step is non-negotiable on any bare or heavily sanded area.
What Happens If You Skip the Prep
Prep skipping shows up fast in Colorado's climate. Common failure modes:
- Peeling within 1–2 seasons — usually from painting over dirty or wet surfaces
- Bubbling — moisture trapped under paint that didn't get a chance to dry after washing
- Edge cracking — sanded edges not feathered, or new caulk applied over old
- Lap marks and uneven sheen — bare spots not primed, causing topcoat to absorb differently
A paint job without proper prep isn't just aesthetically disappointing. In a climate with this much UV and freeze-thaw stress, it can mean real damage to siding and trim within a few years.
Fort Collins Exterior Painting Prep Done Right
Our process on every exterior painting project in Fort Collins starts with a full prep sequence — power wash, scrape, sand, caulk, prime — before a single drop of finish coat goes on. That's why our paint systems are built to last 7–10 years rather than the 3–4 you get from a rushed job.
If your home is due for paint and you want it done in a way that actually holds up to Northern Colorado winters, request a free on-site quote. We'll walk you through what the surface needs before we ever talk color.